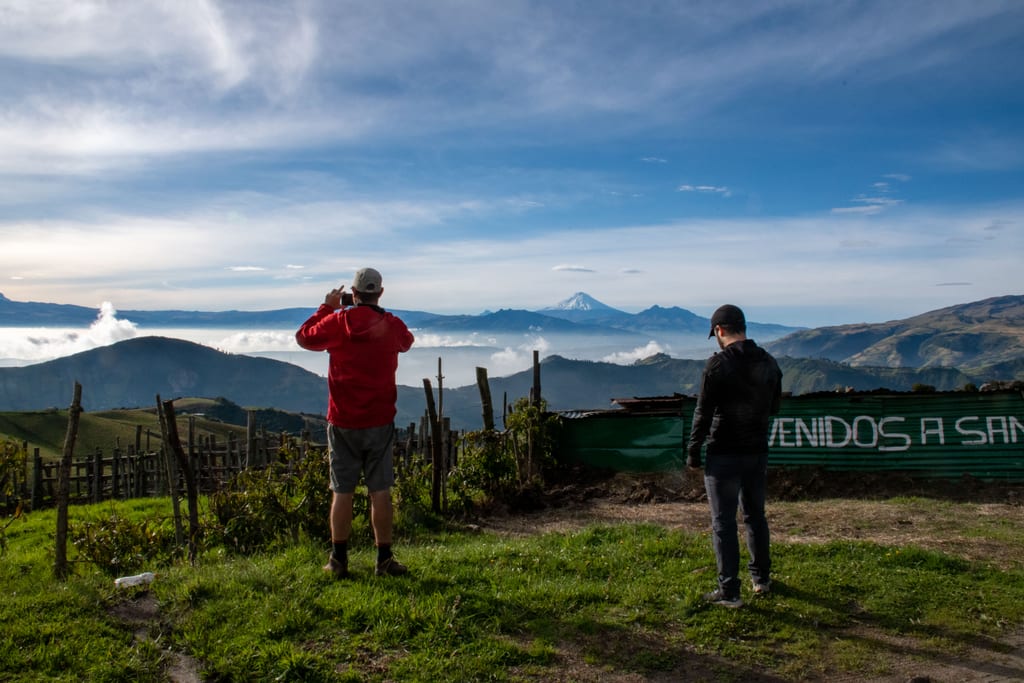
Above 3,000 m, both you and your camera behave differently than they do at sea level. None of it is dramatic on its own, but stacked together it's enough to ruin a shoot if you haven't planned for it. Here are the nine lessons we repeat most often.
1. Cold drains batteries fast
Battery capacity drops noticeably below freezing. Keep spares in an inside jacket pocket, not your camera bag's outer sleeve, and swap a "dead" cold battery back in once it's warmed up — it often has real charge left.
2. UV is stronger than it looks
Thinner atmosphere means more UV reaching your sensor and your skin alike. A UV or polarizing filter cuts haze in landscape shots noticeably more than at lower elevations — and sunscreen matters as much as your lens cap.
3. Your meter gets fooled by snow and bright sky
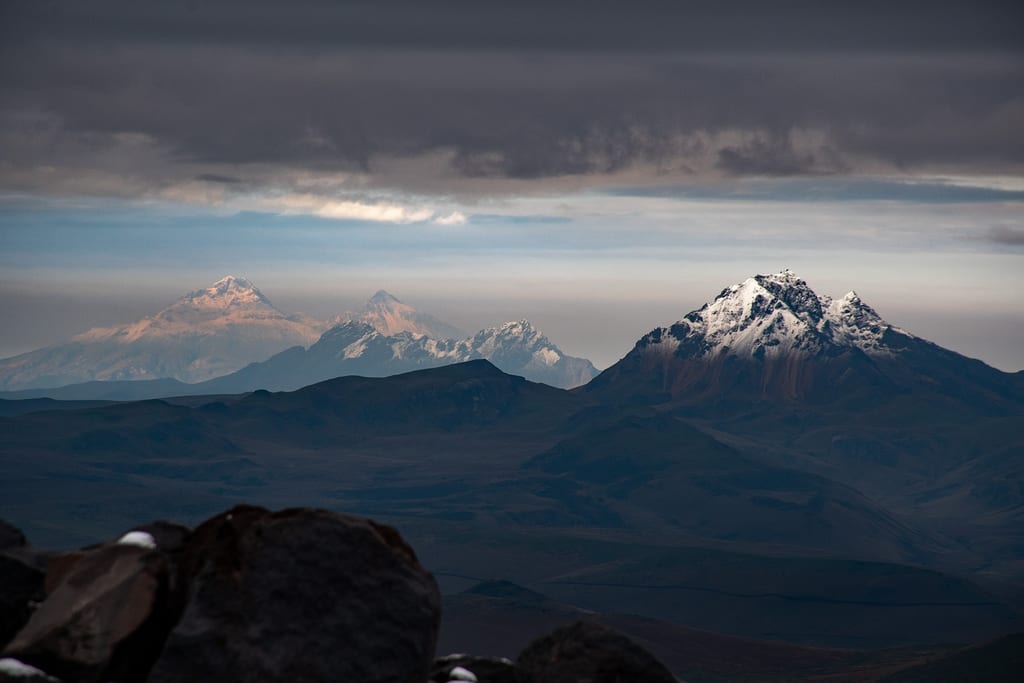
Snow-capped peaks and intensely bright equatorial sky trick built-in metering into underexposing. Check your histogram, not just the LCD preview, and dial in positive exposure compensation when snow dominates the frame.
4. Condensation happens on the way down, not up
Moving from cold outdoor air into a warm vehicle or lodge fogs a cold lens and body instantly. Let gear acclimate inside its bag for 15–20 minutes before opening it in a warmer space.
5. Golden hour is shorter
The sun moves through a lower angular arc near the equator, which compresses golden hour into a narrower window than photographers from higher latitudes expect. Be in position early — you'll have less warning than you think.
6. Weather changes faster than you can react
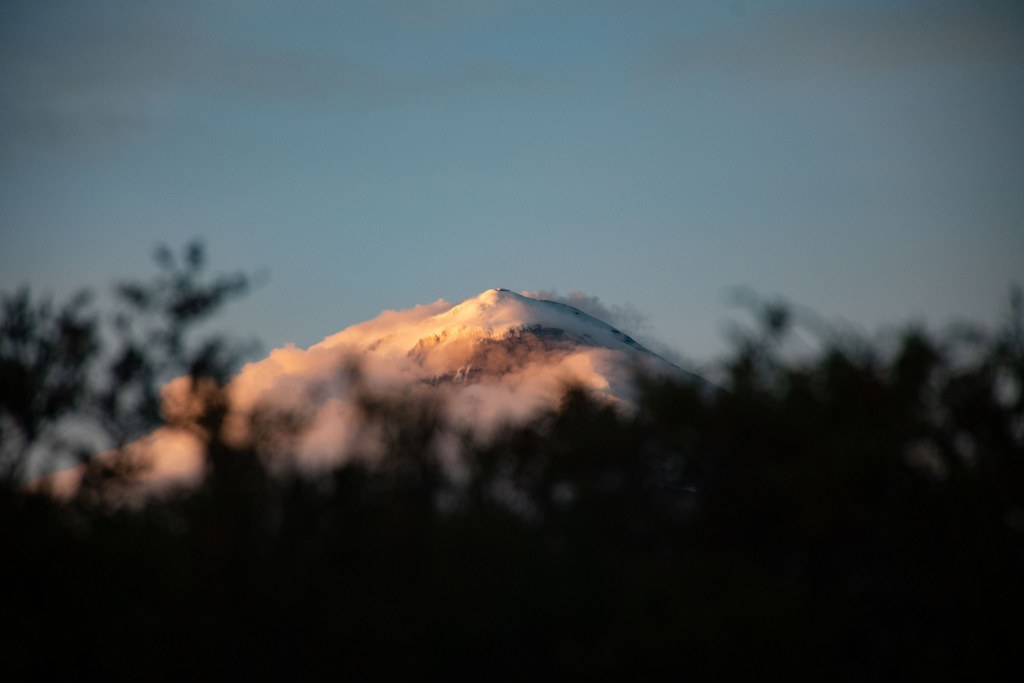
Andean weather can shift from clear to socked-in cloud in under twenty minutes. Shoot the safe shot first, then push for the more ambitious composition — don't save the "sure thing" for last.
7. Your own physical limits change the shot list
Simple tasks — changing a lens, setting up a tripod, even walking to a better angle — take noticeably more effort and oxygen at altitude. Plan fewer setups per session than you would at sea level, and prioritize accordingly.
8. Acclimatize before you shoot, not during
Spend at least a night at moderate elevation before pushing above 4,000 m. Arriving straight from sea level and immediately hiking to a high viewpoint is the single most common cause of a ruined shoot day on our itineraries.
9. Hydrate more than feels necessary
Dehydration compounds every other issue on this list — fatigue, poor judgment, headaches that make checking a histogram feel like a chore. Drink more water than you think you need, starting the day before you go up.
Final thought
None of these lessons are complicated, but altitude punishes the photographer who assumes their sea-level habits will carry over unchanged. Prepare for the nine, and the mountain does the rest.